
In this post we will learn how to install tomcat on unix machine.Being the latest tomcat version, i will be install apache-tomcat-8.5.20.tar version.
Before we begin, make sure that your Java runtimes are up to date, and that you are running a version of Java high enough for the Tomcat distribution you are preparing to install. If you do have java installed , install the latest version or the version that you think suitable for you.
You can use this link to install the .rpm or .tar file link : Download JDK
Make sure you download it depending on your system architecture i.e for 32-bit OS or 64-bit OS.
Below are the steps we going to follow for tomcat installation:
Download & Installation
Checking the Status of Tomcat
Configuration Files
Enabling HTML Management Access
Deploying Applications
1. ) Download & Installation :
JAVA :
After downloading java from the link provided above , you can start its installation.
install java jdk:
[tomcat@localhost bin]$ rpm -Uvh jdk-8u144-windows-x64.rpm
OR
[tomcat@localhost bin]$ tar -xvf  jdk-8u144-windows-x64.tar.gz
To check if jave is installed or not use :
[tomcat@localhost bin]$ java -version
openjdk version “1.8.0_141”
OpenJDK Runtime Environment (build 1.8.0_141-b16)
OpenJDK Server VM (build 25.141-b16, mixed mode)[tomcat@localhost bin]$ java -version
openjdk version “1.8.0_141”
OpenJDK Runtime Environment (build 1.8.0_141-b16)
OpenJDK Server VM (build 25.141-b16, mixed mode)
TOMCAT:
After installing and JAVA now its time to install tomcat , you can download the latest version of tomcat from below link:
After downloading .tar file we are ready to install tomcat on our machine. I have downloaded it in /webserver/bin directory of my server.
NOTE: You don’t want to run tomcat as root because it introduces the unnecessary risk that a compromised tomcat instance could yield control over your entire server also you usually don’t give root permission to application users. Ergo, creating a user with low privileges to run tomcat should be standard practice when installing new instances.Adding and switching to tomcat user.

Extracting files from tarball.

Here -xf option for extracting all files from archive, -v option is for verbose which verbosely list files processed.
2.) Checking the Status of Tomcat:
After installation , run tomcat by the scripts provided (or you can create your own) in the bin folder $CATALINA_HOME/bin/startup.sh .

To make sure that the tomcat instance ran without any hassle , see logs. In my case i got the port bind exception.

NOTE : The default port for tomcat is 8080.
The reason i got this error is that i already have a tomcat instance running with this port number. To solve this problem i need to
change the port number to something else in server.xml file that you can find inside conf folder of tomcat.

Restart tomcate after doing change.
$CATALINA_HOME/bin/shutdown.sh
$CATALINA_HOME/bin/startup.sh
To check whether the porcess is running or not you can use:

OR

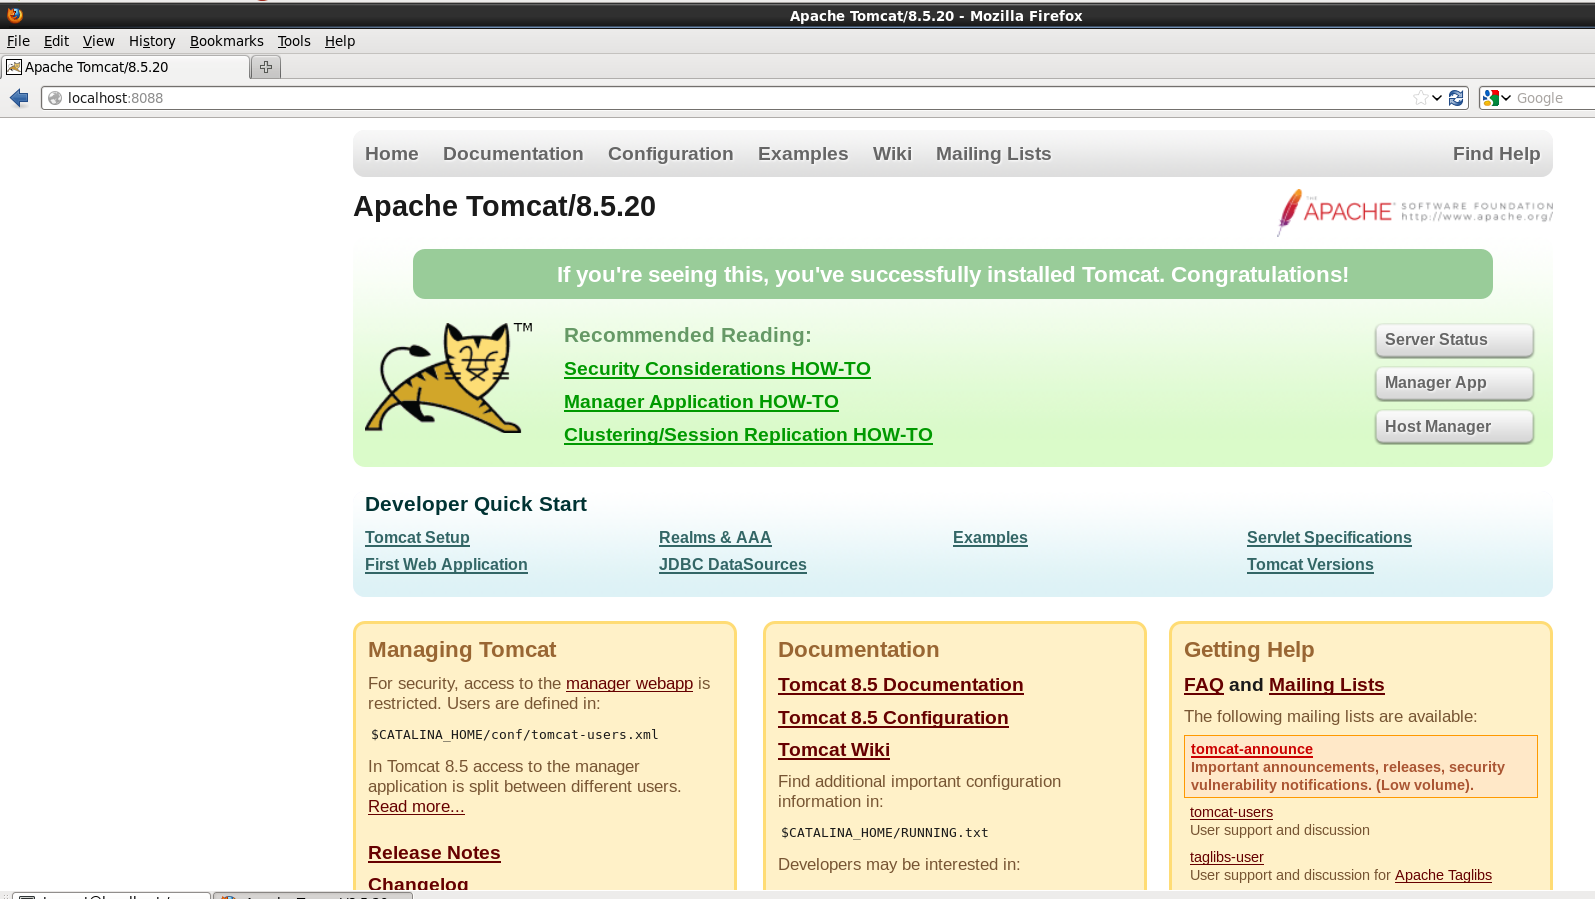
Open browser and enter the ip or domain name of you server with port to see default tomcat page. By default the port is 8080 but i have changed the port so i will beusing the port number 8088. The page that you can see below is inside CATALINA_HOME/webapps/ROOT folder in my case it is /webserver/tomcat-A/apache-tomcat-8.5.20/webapps/ROOT. We need to do some configuration before we could use this page. I have discussed it in STEP 4.
3. ) Configuration Files :
For making change according to your application you need to make the change in the configuration. Below are the location that you will find
useful:
Config : $CATALINA_HOME/conf
Bin Directory : $CATALINA_HOME/bin
Webapps : $CATALINA_HOME/webapps
Logs : $CATALINA_HOME/logs
here $CATALINA_HOME is tomcat home directory.In my case it is /webserver/tomcat-A/apache-tomcat-8.5.20.
4.) Enabling HTML Management Access :
We need to make tomcat-user entries inside “$CATALINA_HOME/conf/tomcat-users.xml” file in order to use tomcat managment application.For doing this i have made entries in vi /webserver/tomcat-A/apache-tomcat-8.5.20/conf/tomcat-users.xml

Similarly, you can also add ‘admin-gui‘ role to a admin user named “admin” with a password “yourpassword” as shown below.

Restart tomcat so that it could pick the changes we have done.
$CATALINA_HOME/bin/shutdown.sh
$CATALINA_HOME/bin/startup.sh
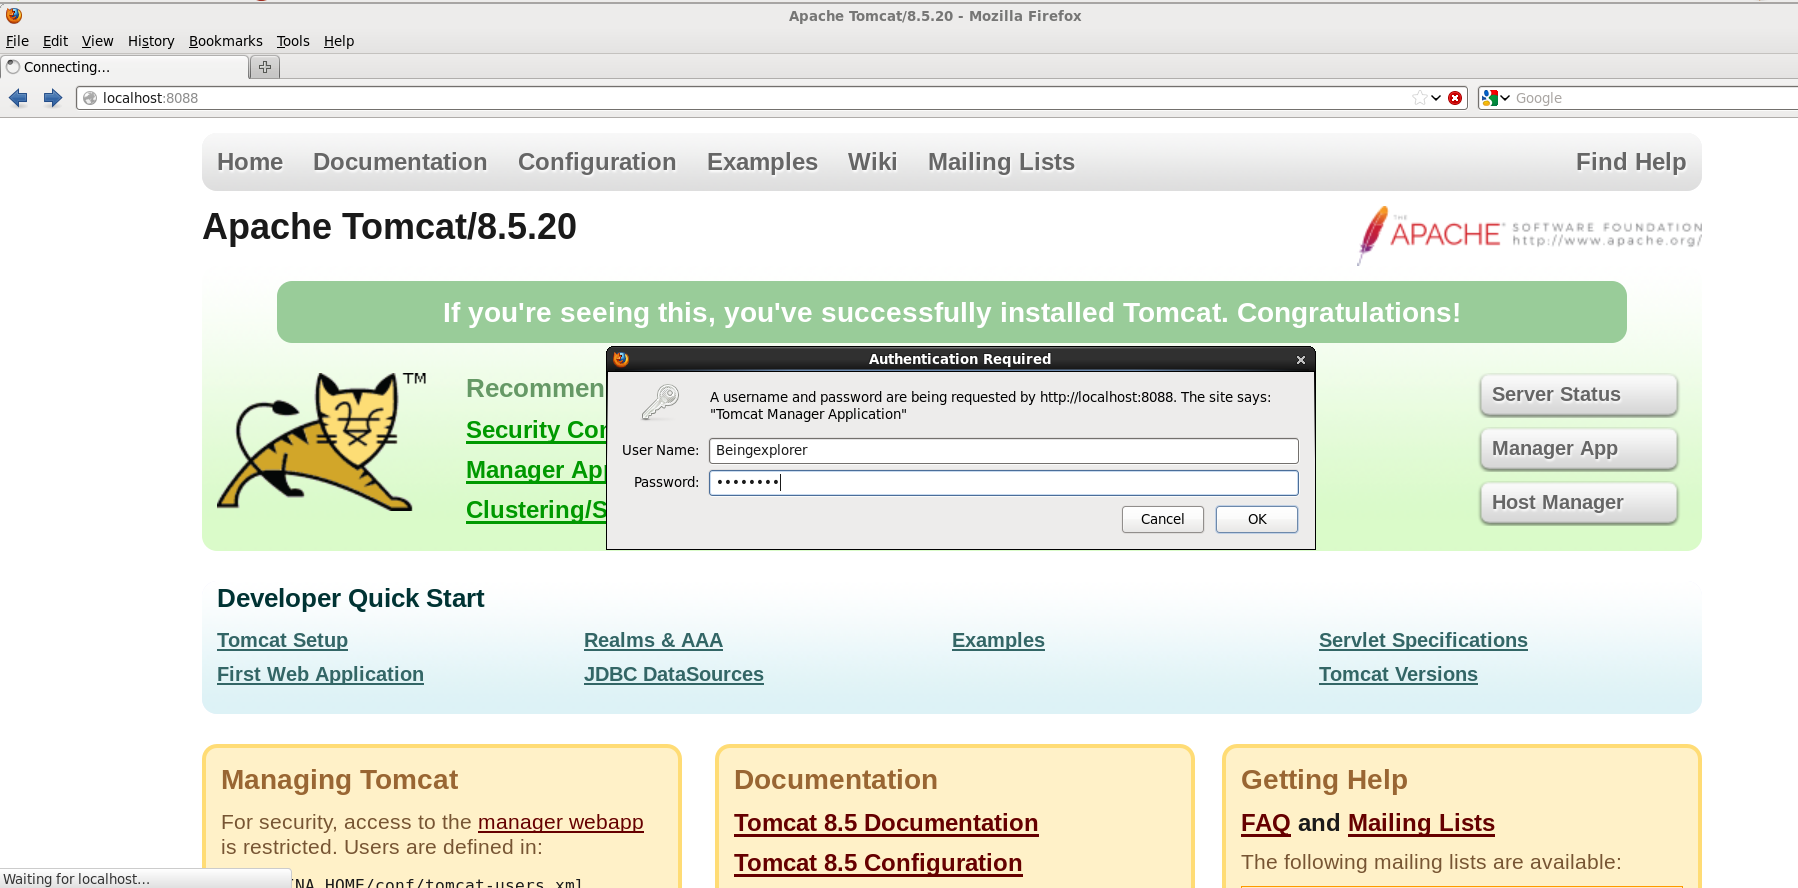
Now to check , go to browser and hit the domain name with your tomcat port. Now if you click on server status button you will asked
to enter the username and password and yes you are right this is the same password that you have edited in tomcat-users.xml file
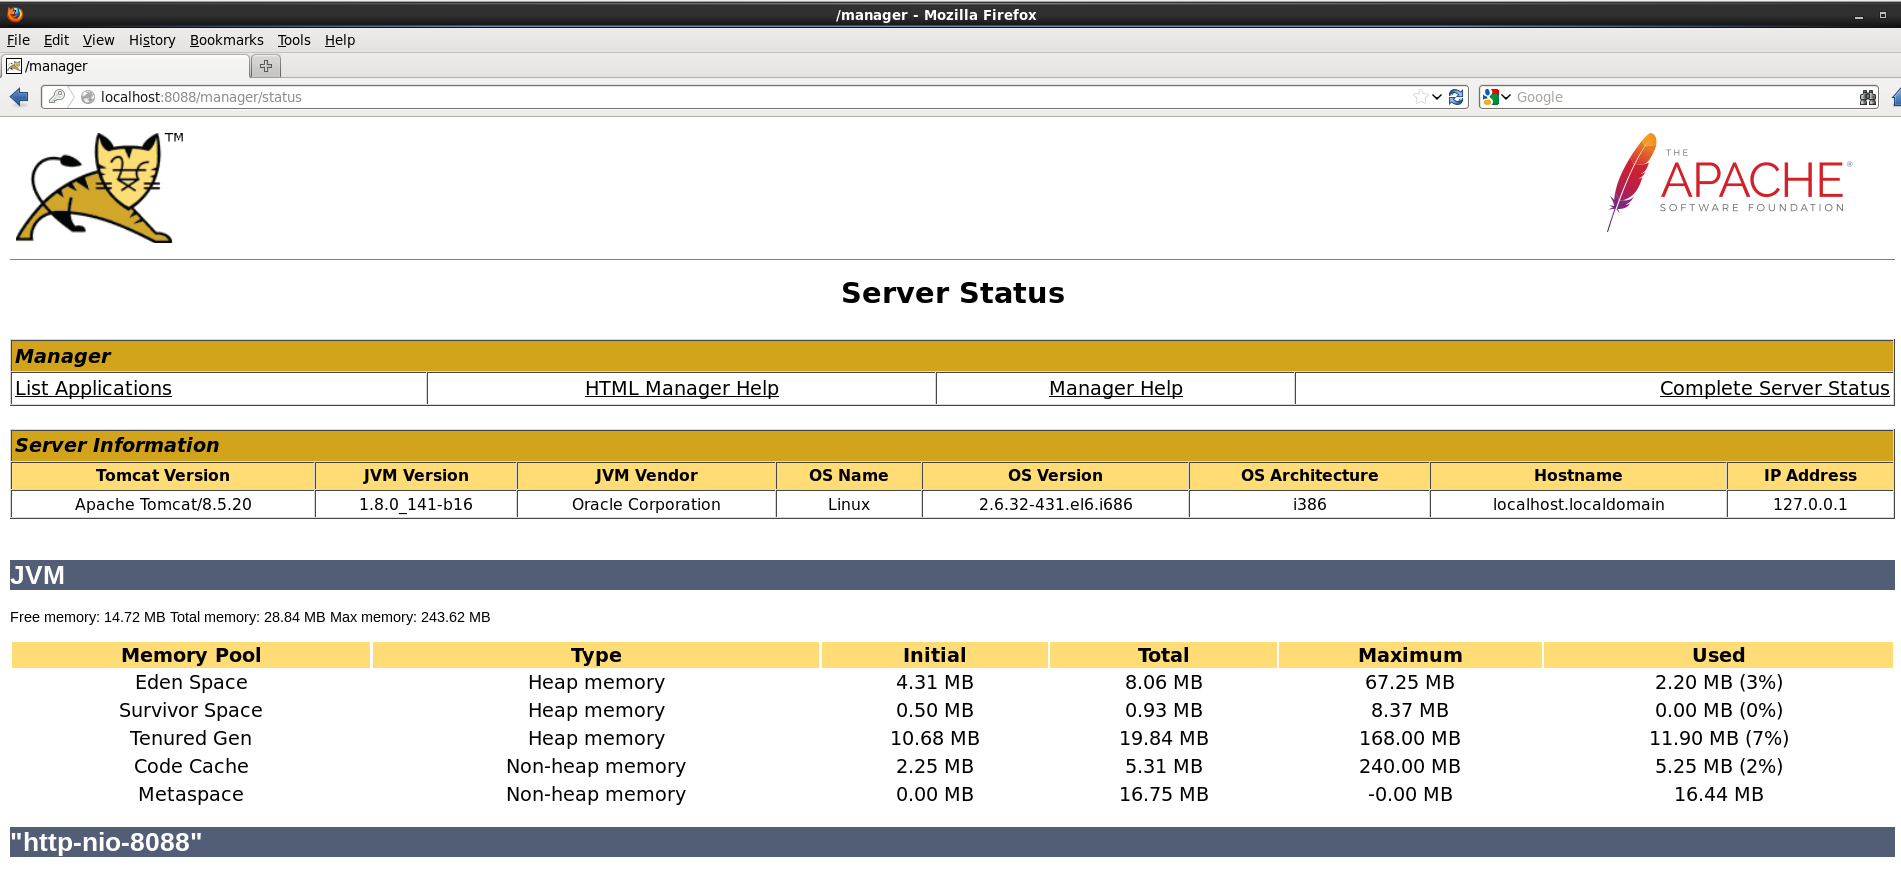
This is this how the server status page look like:
5.) Deploying Applications:
Now everthing is done except the application deployment for which you have configured the tomcat.Incase you are doing a redeployment, delete the existing deployment from the “$CATALINA_HOME/webapps” directory.
# rm -Rf $CATALINA_HOME/webapps/sample
Place the “sample.war” file in the “$CATALINA_HOME/webapps” directory and Tomcat with automatically deploy it. You will see a “sample” directory appear.
You don’t need to stop and start Tomcat for this to work, but you can if you want.
$ $CATALINA_HOME/bin/shutdown.sh
$ $CATALINA_HOME/bin/startup.sh